

It seems this is taking forever. Well, technically this should be about a one day build, but setting up shots does eat up a fair bit of time. And that's a not a mini boom mic on the right there. It's my hammer's handle. Here I'm marking screw centers for the moving jaw runner.

And installing such.

Follow the same procedure to install the retaining block. Make sure you shift the screw locations towards center to clear the other screws.

Install the hook. But wait, don't actually install it yet. You'll screw it up.

The half miter jaw. Oversized (naturally.) Bandsaw to the lines.

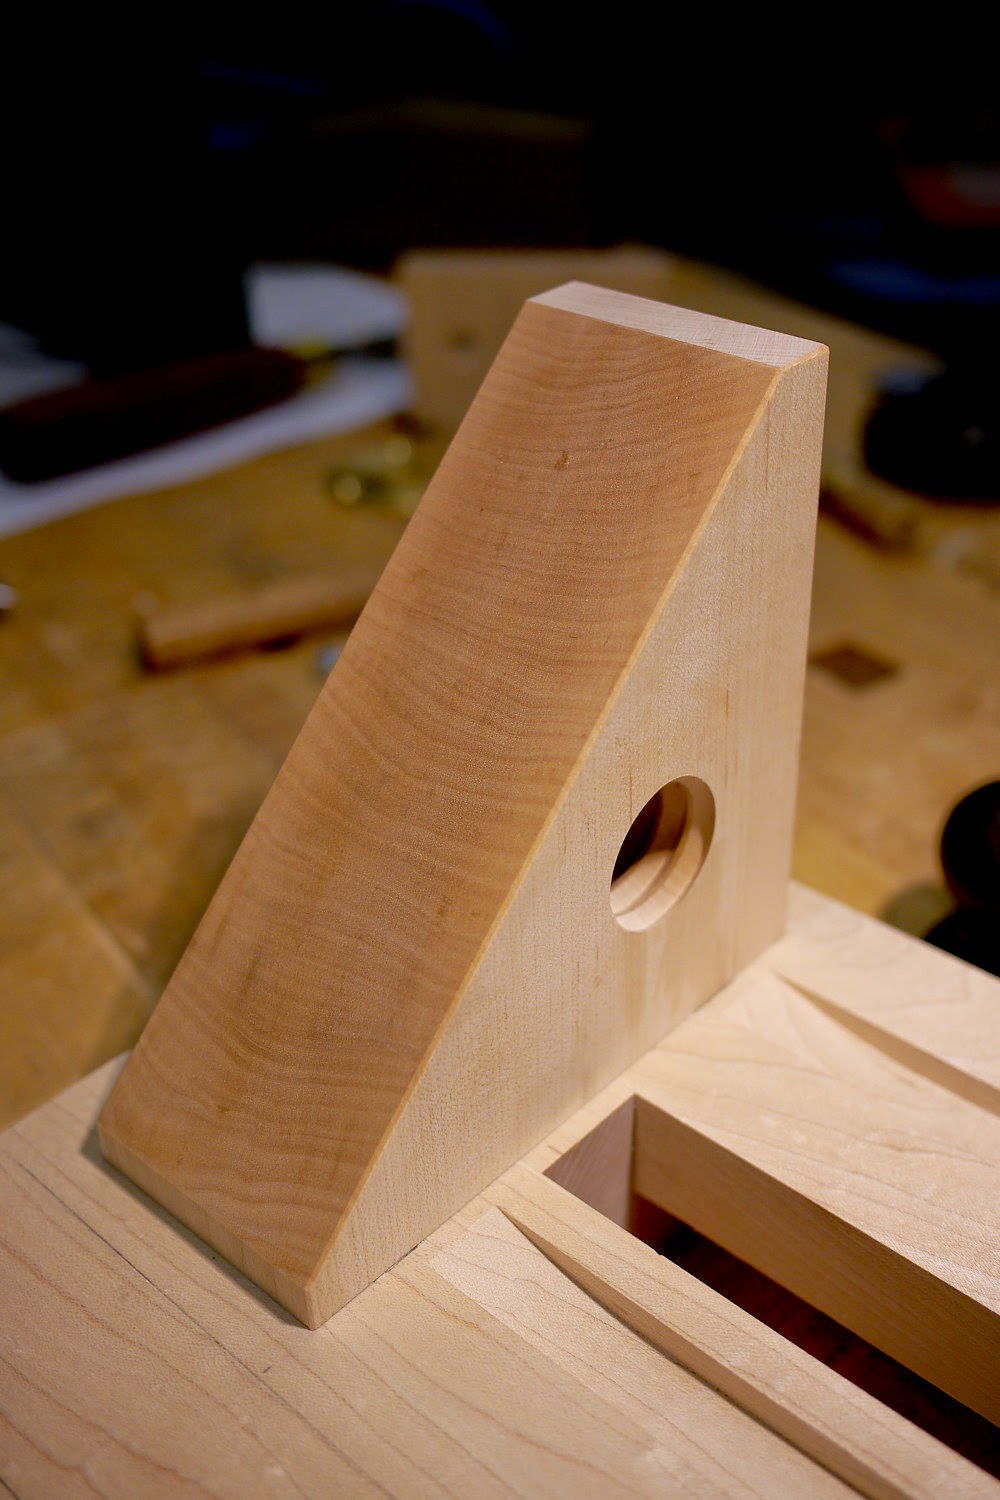
Dial in the fit with the pocket using hand planes.


With the jaw snugly in place, mark for the runner grooves. You should make the half miter jaw block when you mill the jaws so you can cut these grooves when milling the grooves for the base and jaws. I had to set up the dado stack again, and use some finicky setups to get these grooves in the right location. It wasn't too bad really. I just used a test piece until I got the fence set via trial and error and all went smashingly.

Um, I'm not entirely sure what I'm doing here. Maybe tweaking the fit of the jaw in the pocket? Yeah, that's what I'm doing.

Yep, definitely.

Go ahead and attach the half miter retaining block to the half miter jaw. Okay, now you can attach the hook to the moving jaw retaining block. But get it right, not like my sorry attempt. I drilled in the wrong spot and the hook butts into the spacer block. It's too far to the right.

I drilled another hole a bit more to the left (where you should drill your's.)

Uh huh. That's better.

The runners get nailed onto the underside of the jaw. These are traditional Bostich square cut nails.

Then sawn off and planed up nice an tidy. Don't you just love the look of end grain hard maple? Especially against a radial plane. It screams "joinery!"
You can cut the nut block to final shape.
If you'd like to build one of these, we still have kits available. The kits include all the metal bits (including fasteners) plus the meticulously-crafted wood screw and nut block from Nick Dombrowski.
More info here.
Thanks for writing up this series Jameel. It's been very interesting and informative, not to mention well written and well photographed.
ReplyDeleteI would love to build one of these someday, but I think I'll get a little more experience in before tackling it. I built one of your carver's vises recently and it about got the better of me - and this seems like an order of magnitude more complex.
P.S. I'm glad to see you didn't "time" your slotted screw heads, I think people who do are weirdos.
It's really not much different than the carver's vise. You can almost ignore the 45 degree face until the very end. The rest is just right angles. It's all about sequencing. Many of the flat surfaces you create can be jigged from in bringing other surfaces in plane with such.
DeleteOh, but I do time my slotted screws. They just don't all point to the same time.
I loved watching the build too, Jameel, but agree with Zach, it looks very daunting. Not sure how many people have your (superb) joinery skills and could achieve such a sublime result?
ReplyDeleteWould love to own one though.
Just try one. It will improve your skills. I'm working up against the clock here (got a deadline for something else knocking on the door) so it looks more daunting than it is. Take your time and enjoy it.
Delete