

The Glide leg vise, a welcome addition to any bench. Not only welcome, but necessary. I begin by finding the apex of the circle on the left side of the hole in the front left leg of the bench. I mark a line from that around to the side.

It's hard to see, but after marking the line in the last picture, I transferred it to the inside of the hole. Then I pushed the chop in all the way, made sure it was parallel, and marked the same line on the chop itself, putting my pencil through the hole and transferring it over.

Now I just carry the line all the way to the other side of the chop and mark for the center.

And, by golly, it lines up!

At this point, I also made a couple long draw-bore pegs for the parallel guide so the chop wouldn't fall out while I tried to fit everything.

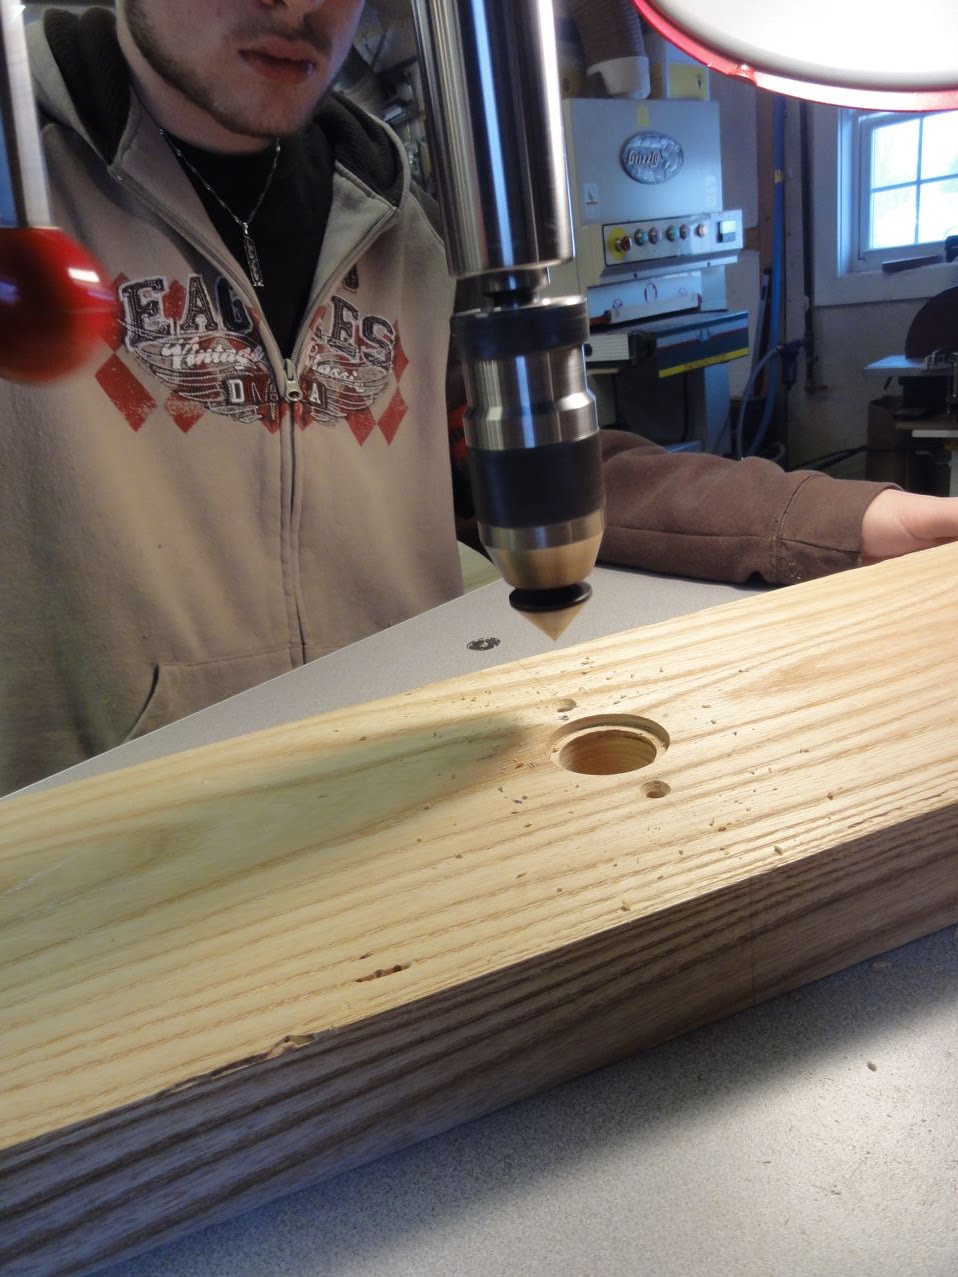
On the outside of the chop, I drill a clearance hole about 1/4” deep. There is a washer behind the flange for the vise that will fit in this hole. Then I use a 1-3/8" bit to drill completely through for the screw itself.

You are now witnessing a lack of pictures. I have to apologize, I must have fallen asleep while doing this part. I will just explain it, in English (Sorry, I'll upload an alternative audio track later). Below is just a photo from the Glide Instructions PDF.

After drilling the large center hole, I took the vise wheel and put the screw in the hole, trying to center it as perfectly as possible. Then making sure the flange was completely horizontal, I take a center hole punch and mark for the two holes I'll drill to hold the vise in place.


Now I am drilling for the nut that goes on the reverse side of the leg. I am very serious about my drilling.
It is important to make sure this nut lines up with the center of the hole. If the nut is off center, the screw will be off center, and it will rub and you won't be "Glide"ing the way you want.


On the face of the leg, I routed out this area for the bushing that guides the screw. Here, I am squaring up the corners with a chisel.

Then I simply lined up the bushing in the center of the space, center punched the holes and drilled them.
And... you will have to wait to see the Glide done! See you next week!
No comments:
Post a Comment
Note: Only a member of this blog may post a comment.