Tuesday, April 5, 2011
Lead Times and a Shaker Bench Update
As you may have noticed, we've had to increase our lead time on vises to 10-12 weeks. One of our materials suppliers has been swamped with orders the past few weeks and are frantically trying to keep up, to the point of adding machinery to their operation, which has the ironic effect of further delaying orders in the short term. During the past couple years many manufacturers have changed the way they do business. Instead of keeping lots of raw material on hand and warehousing finished parts, they wait until they have several orders to do a run. It's like having to do a group order with a bunch of people you don't know. It's something that's out of our hands, so we're trying to deal with it the best way as we can. Couple this with the immense popularity of our vises (demand is hotter than an iPad 2!), that means increasing lead times for the time being. The upside is, we're making some significant changes to the way we work, which should, after this hiccup runs its course, mean very short lead times. If you're in the market for vises, stay tuned here for updates. As soon as things change, we'll make a post.
Now on to some good news. The Benchcrafted Shaker Bench plans have been progressing nicely. We're getting quite close to completion, and are shooting for an early summer release date. No promises yet, as we still have some issues to work out. As usual, we've changed some construction details since building the prototype, improving the strength of the joinery, and simplifying the construction at the same time.
We've answered a lot of questions about this bench in the past few months. The most common seems to be, "is this bench strong?". The Roubo bench design has become so popular that its become the benchmark for other benches. So is this bench as strong as a Roubo? We're not about to send our benches to the testing lab at MIT to be crushed under a giant hydraulic ram. So short of that, I'd say yes. In fact, I may be leaning towards the opinion that the base of this bench might even be stronger. Why? Unlike traditional Shaker benches, made with solid timbers and frame and panel construction, we've engineered the base of our bench around the torsion box model, using plywood panels which won't move and don't require joinery like a frame and panel.
The front of the cabinet is made with a 1" thick hardwood face frame joined with numerous tight half-lap joints. Once glued, these joints are incredibly strong. The back of the case, instead of frame-and panel is one unified element of 3/4" ply. The interior of the case is divided with several more plywood panels further adding weight and rigidity. The advantage of this construction method will be that you can glue the entire case together without worrying about wood movement, and use the joinery method of your choice: biscuits, Dominoes, tongue and groove, spline, or simply butt joints and dovetailed screws. We also use traditional cut nails for structural reinforcement where aesthetics is important. Once the cabinet is together, it is functionally a solid cube. One single joint, standing alone, may be quite weak, but taken as a whole the case would be nearly impossible to destruct in normal use. Of course this all depends on tight joinery and proper gluing, which should be at the top of your list when building this bench. Even a massive Roubo would be useless with weak, wobbly joints.
Friday, April 1, 2011
New products announcement !!!
We're extremely happy and excited and very pleased and thrilled to announce two new products to the Benchcrafted lineup. We've been working on these for several months and it's been very difficult to keep these under wraps. We never thought we'd be subject to such things but we've had to contact our lawyers on several occasions to bring charges of corporate espionage against parties that will remain unnamed as per the settlement agreements. Needless to say, we are relieved to finally announce these items which will in turn take some of the wind out of our competitors sails.
One product, is entirely made in the USA. The other product will be available in both a USA and a Mexico version. We're typically very conscientious about keeping everything in the Americas, but this item was only available via Mexico so we had no choice but to have it made on another continent. OK, so enough talk. We're VERY proud to announce the Benchcrafted G.P.T., Glide Paper Towel holder!
We've spared no expense. As with our award winning vises, the materials are top notch and will blend with any post-industrial kitchen decor. Whether your little homemaker is a machinist, woodworker, or simply a former Eastern Block designer, this will fit right in. The weight will immediately be appreciated. How many times have you gone to tear off a single sheet of paper towel, tucked it under your chin, walked down the hallway and into the living room, sat down with your full slab of ribs, only to find you pulled the whole roll off and now have to close up the recliner and go fix that mess? No more.

The NEW Benchcrafted G.P.T. !

Your Homemaker will LOVE it!
Our second announcement would have been impossible had we not been able to secure, under extreme expense we might add, the design advise and mentor-ship of world renowned Industrial Designer D. Puch. Alski. We approached Mr. Alski with a simple request; what can we offer that will seem complex but not be, inexpensive yet costly, deep but shallow, and accessible to only the few? His answer astounded us!
"What does everyone need, from Disappointment, Kentucky to Ngama, Chad? What are we all looking for all the time?"
"Food, water, shelter? The meaning of life?"
"No you idiots! Wallets. Wallets are the answer to everything. We keep everything that is most important in our wallets. But what is the matter with wallets? They are are ugly. I find them offensive with their folding and creasing."
Needless to say we were floored. And this, we are proud to announce is the final result of his design prowess.
The Benchcrafted Brakolai Bandolier
As we said earlier, it is available in two versions, the Limited Edition Tinamura & Antle iBrakolai (see it's white just like an Apple product) and the South of the border Bandito Blue Brakolai Bandolier. Both are finished is supple caoutchouc, durable, functional and above all, chic!
Availability late Fall 2010.

Limited Edition Tinamura & Antle iBrakolai on top, Bandito Blue Brakolai Bandolier on bottom.

Bandito Blue Brakolai Bandolier in action!
Tuesday, March 29, 2011
Production Update--Lead Times
A couple months ago we received some favorable press and unfortunately our lead times have suffered as a result. So we're trying to streamline our production in order to not only catch up, but also dial back those lead times to a more realistic level. Nobody really wants to wait 6 weeks to get their vises, and we completely understand that. One of our machinists' father passed away last week, and another has suffered a broken ankle. These unforeseen delays are just as frustrating to us as they are to you. Those taking up the slack are working extra time in order to fulfill orders. For those of you at the 6-week mark now, we're hoping to get your vises out by Friday this week. After that, we should start to gain on our lead times. Thanks for being patient.
Sunday, March 27, 2011
The Benchmakers Apprentice: Routing the Dog Holes
Well, today I got out my bench top and decided to make some dog holes. I begin by planing this piece of Ash, which will be the front section of the split top, because our jointer couldn't accommodate the 11+ inches of solid Ash.
After planing the face flat, I jointed the edge and, using the planing machine, planed the piece to thickness.
Here is a left-over piece of ash that will serve the purpose of the dog hole laminate very nicely.
Here is a little layout of what the dog hole should look like after being routed. Below is a top view for your viewing pleasure.
Before just going in and routing out all of that material, I take a saw, or two, and cut down about an eighth away from the entire depth of the router cut and also about an eighth away from the dog hole wall. So, in actuality, the router is cutting very little material, but we're still getting a perfect looking hole.
I put tape on the saw to remind me not to cut too deep.
Now, just taking an old chisel, I break out all that material that we don't need.
Here is the jig I'll be using. Very complex, patented, and covered with A LOT of insurance.
As you can see, after clearing out most of the material, the router won't be doing too much work.
And there you go! A great looking dog hole. Next we just need some dogs to occupy the space.
See you next week!
Friday, March 25, 2011
Tail Vise Dims
We've received this question countless times in the past. We thought it prudent to finally provide it (sorry for the delay). We're going to add this to the FAQ and instructions so you can plan your bench more effectively. The end dimensions for the rest of the vise are included in the templates/instructions, which you can download here.
Wednesday, March 16, 2011
The Benchmaker's Apprentice: Installing the Glide Hardware
The Glide leg vise, a welcome addition to any bench. Not only welcome, but necessary. I begin by finding the apex of the circle on the left side of the hole in the front left leg of the bench. I mark a line from that around to the side.
It's hard to see, but after marking the line in the last picture, I transferred it to the inside of the hole. Then I pushed the chop in all the way, made sure it was parallel, and marked the same line on the chop itself, putting my pencil through the hole and transferring it over.
Now I just carry the line all the way to the other side of the chop and mark for the center.
And, by golly, it lines up!
At this point, I also made a couple long draw-bore pegs for the parallel guide so the chop wouldn't fall out while I tried to fit everything.
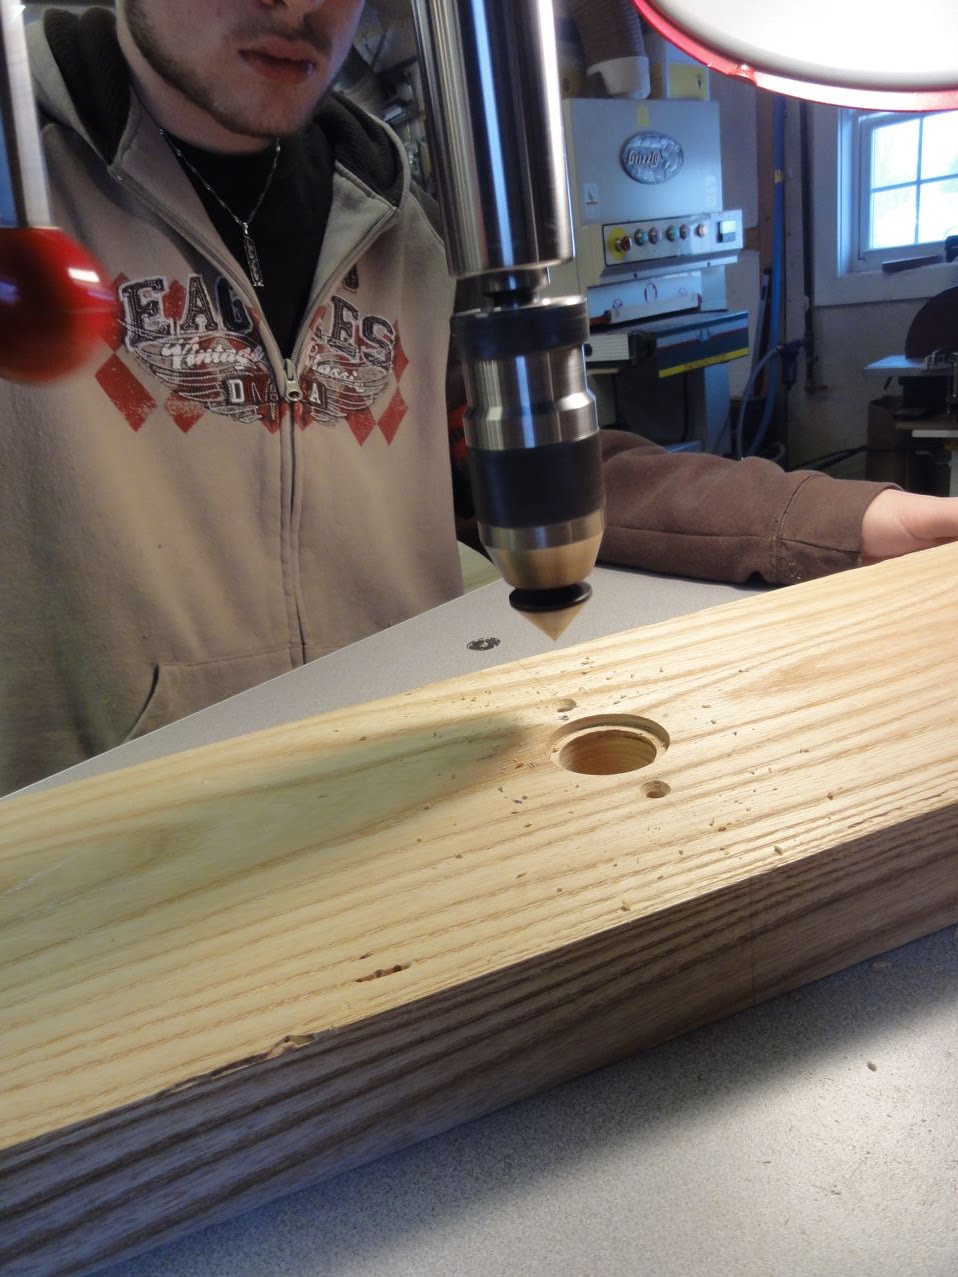
On the outside of the chop, I drill a clearance hole about 1/4” deep. There is a washer behind the flange for the vise that will fit in this hole. Then I use a 1-3/8" bit to drill completely through for the screw itself.
You are now witnessing a lack of pictures. I have to apologize, I must have fallen asleep while doing this part. I will just explain it, in English (Sorry, I'll upload an alternative audio track later). Below is just a photo from the Glide Instructions PDF.
After drilling the large center hole, I took the vise wheel and put the screw in the hole, trying to center it as perfectly as possible. Then making sure the flange was completely horizontal, I take a center hole punch and mark for the two holes I'll drill to hold the vise in place.
Now I am drilling for the nut that goes on the reverse side of the leg. I am very serious about my drilling.
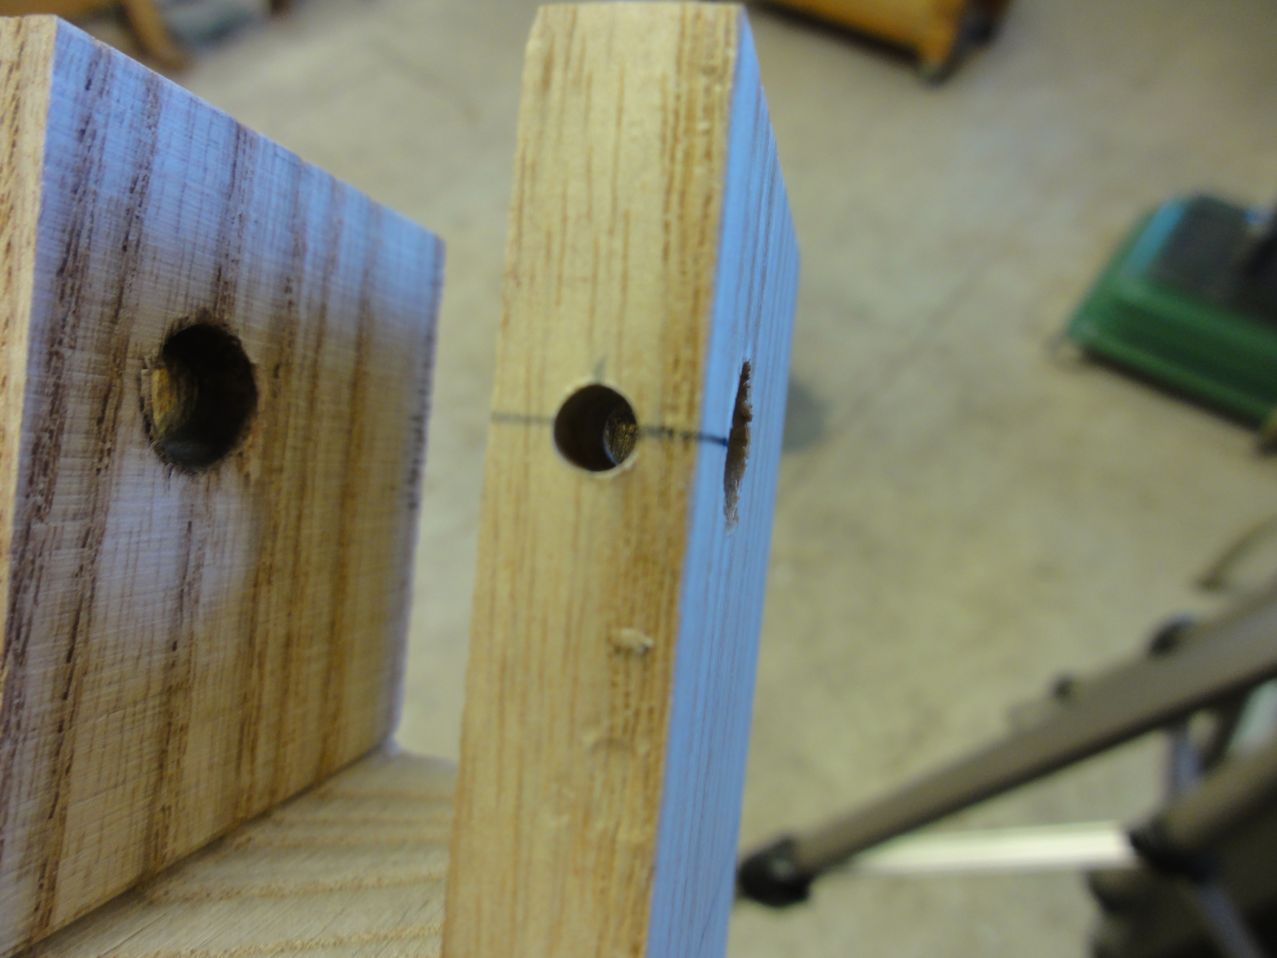
It is important to make sure this nut lines up with the center of the hole. If the nut is off center, the screw will be off center, and it will rub and you won't be "Glide"ing the way you want.
On the face of the leg, I routed out this area for the bushing that guides the screw. Here, I am squaring up the corners with a chisel.
Then I simply lined up the bushing in the center of the space, center punched the holes and drilled them.
And... you will have to wait to see the Glide done! See you next week!
Sunday, March 6, 2011
The Benchmakers Apprentice: Roller Guides
So here we are, making a couple roller brackets for the Glide Leg Vise I will be installing. I took a piece of ash I had left over and cut the ends on the band saw as you can see in the picture above.
I should have drilled this hole before cutting into the wood, so to minimize blow-out and/or breakage of the Fraxinus americana I put a small piece in between.
And that isn't looking too bad! After drilling both ends like the one above, I cut the piece in half so I could work on each bracket individually.
A nice fit.
Now these brackets need some slots so that they can be mounted to the bench leg and have some adjustability.
I use a forstner bit for drilling out these slots because forstners won't slip and they usually go where you point them. If only everything was like a forstner bit...
This is the hole for the fastener that holds the wheel shaft in.
Tapping the hole.
La magnifique!
Now those brackets need somewhere to go.
After marking for the holes for the brackets(two for each), I went ahead and counter sunk the holes a bit.
Then I tapped the holes a little bit. Well, actually a lot.
The backbone of the Glide is now done!
Subscribe to:
Posts (Atom)