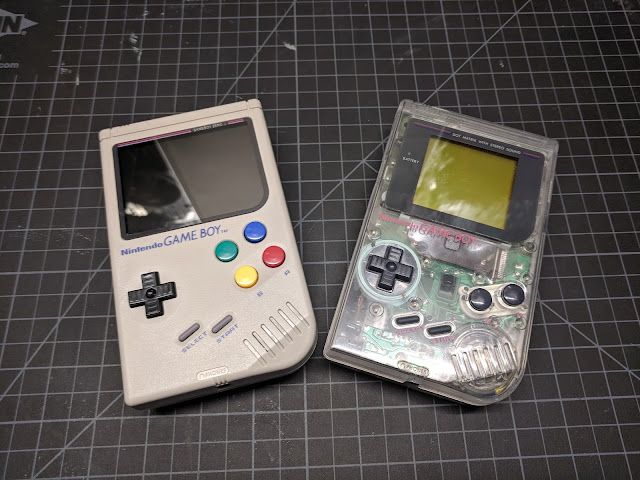
It's about time we talk about some retro gaming here. At Benchcrafted we appreciate a lot of the older ways of doing .. just about everything, and that includes video games! Nothing beats the look and feel of the classics and there's no better way to revive that than with a Gameboy running on a Raspberry Pi.
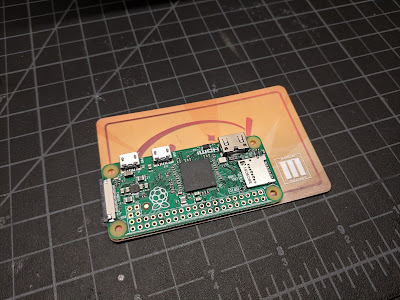
This type of build is known as a 'Gameboy Zero' because of its use of the Raspberry Pi Zero, a computer less than half the size of a credit card. You can run a full Linux operating system on this thing, but they are very popular as retro console emulating devices.
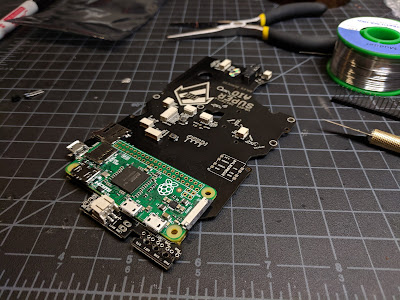
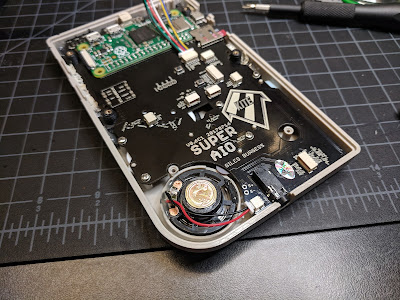
Along with the Raspberry Pi, we'll be using Kite's Super AIO (all-in-one) board. It's perfectly designed to fit inside an original Gameboy case to allow button input, display driver, speaker plus headphone amp, and much more. It ties the whole build together and makes for a much cleaner result, opposed to the alternative of incorporating multiple boards and tying them all together yourself. We don't want this thing to look like Ian Holm at the end of Alien on the inside.
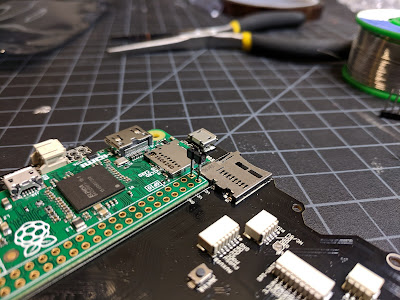
Notice the bottom right corner of the Raspberry Pi has been trimmed
The first step in the process is to solder the RPi to the AIO board. In order to do so, the RPi must be trimmed. I used a small Japanese saw, but a dremel would get the job done just as well. PCBs like this are mostly made of fiberglass sandwiched between a thin layer of copper so they're pretty easy to cut through. This notch allows the RPi to rest in a convenient spot while allowing the relocated SD card slot on the AIO to line up perfectly with the slot on the Game Boy case that was original used for the display's contrast wheel, something we'll no longer need with our new backlit LCD.
The first points to solder are for the USB port where the RPi gets power and the SD card port so it can be relocated. I first dabbed on a little solder to each of the pads on the RPi, then lined them up with the corresponding holes on the AIO board. By sticking the pointed tip of my iron through the holes in the AIO, I'm able to heat the solder on the RPi pads. The solder naturally wants to flow onto a heat conducting surface which, in this case, is the rings of copper around the holes in the AIO, linking the two boards. After adding a little more solder to each hole for a domed finish, we can move on to soldering the first four of the forty GPIO (general purpose input/output) pins that allow the AIO board to communicate with the RPi for audio, video, and button input.
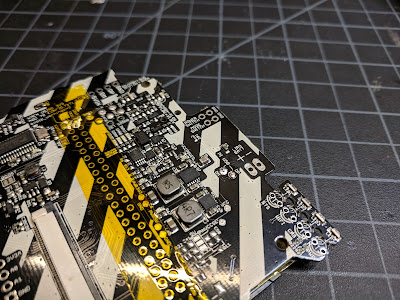
Both the RPi and AIO board have through holes for the GPIO pins so in order to solder them together kapton tape is first placed over the holes on the AIO. Unlike electrical tape, kapton tape can take very high temps so it's great for applications where it may be exposed to hot solder.
When the GPIO pins are placed in the holes in the RPi, they are stopped by the kapton tape on the other side making it very easy to solder.
The GPIO pins are soldered to the RPi first
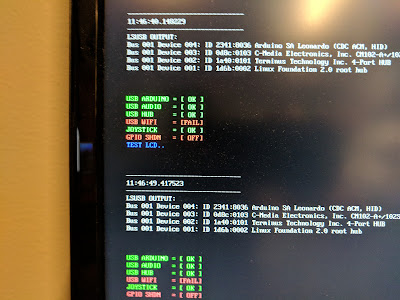
After the GPIO pins are soldered on the RPi side, the whole assembly can be flipped over and soldered from the other side. At this point it's a good idea to boot up and test our work before we go any further. By plugging our power cord and micro-SD card into the AIO board, we can confirm that all our solder points made a good connection.
Loaded onto the SD card is Kite's custom image of RetroPie. RetroPie is a Linux based operating system designed for Raspberry Pi that offers an easy to use interface for displaying and running all your game roms with its included emulators that'll run anything from Atari 2600 games all the way through to Playstation Portable and everything in between. Our image is set to test mode so we can check that everything is working properly and sure enough we get all green lights, besides WIFI (which we don't have on this unit) or the rest of the GPIO pins.
With testing out of the way, the rest of the GPIO pins can be soldered.
With all of the pins soldered, we can now plug in the display included with the Super AIO kit. This is a 320x240 resolution display, plenty for the low resolution of the retro games we'll be playing. The ribbon cable from the display gets plugged into the front of the AIO, just in time for another test.
In the video above I have the daughter board that also comes with the AIO kit plugged in. It mounts in the case to give you volume control, a full size USB port, power switch, and a mode button (for controlling screen brightness and other basic functions). I also have a small speaker plugged in to test audio. Everything seems to work perfectly so we can move on to mounting the screen.
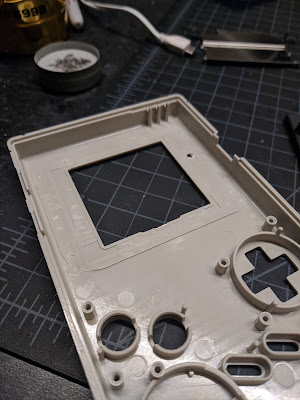
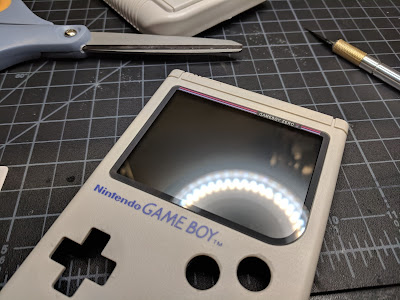
Our new color LCD is quite a bit larger than the original Game Boy's monochrome display so the case will need some modification to accommodate it. Firstly, all of the posts surrounding the display area need to be removed. I used a dremel to remove the bulk of the material. It works great as long as you take your time as to not heat up the plastic too much which can cause clumping.
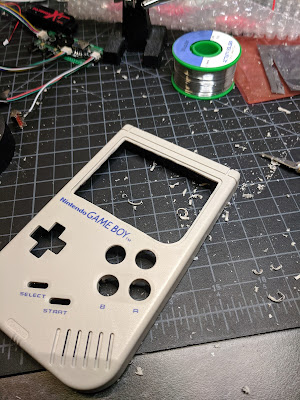
With the display window cut, I also took this time to drill the holes for the two extra face buttons. The AIO board has through holes so you can easily mark where you need to drill to line up with the button pads on the board. I used a step drill bit to drill the two holes. A step drill bit is great for plastic because it doesn't pull like a twist bit and won't mar up the surface like a forstner might. You can also use the next step after you've achieved your diameter to get a bit of a chamfer. After drilling the holes I wanted to see if I could give them a bit of a fillet with the dremel but I just ended up making it worse. Without close inspection though they look pretty good!
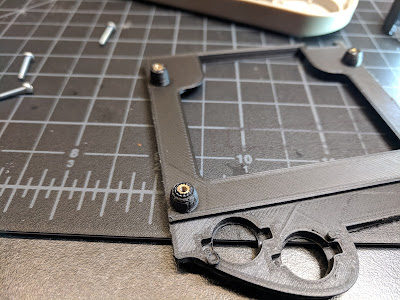
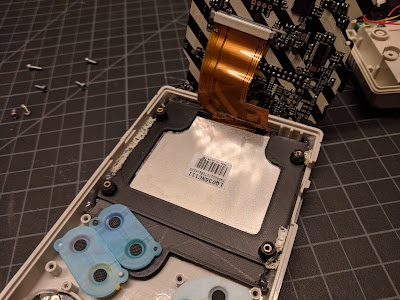
The posts we removed earlier are necessary to close the thing up properly so instead of cutting them off and gluing them back on the the back of the new LCD, I 3D printed this adapter (designed by HoolyHoo) that not only holds the LCD in place perfectly while conveniently replacing the screw posts on the back, but it also adds the button wells we'll need for our two extra face buttons.
You'll notice the bracket has brass inserts in each of the posts. These small, knurled nuts get inserted to the pre-existing holes in the bracket by applying some pressure from a hot soldering iron. Once inserted, they aren't going anywhere.
I held the screen in place inside the bracket with some double-sided tape. Since the two parts of the case are held together primarily by this bracket, I wanted to be sure the bracket itself wouldn't come loose so on top of a little hot glue in the corners, I also used some ABS plastic filament for 3D printing to "weld" the bracket to the case using a soldering iron. That should hold better than any glue.
Despite my best efforts - and I'm very particular about this sort of thing - I couldn't eradicate every tiny molecule of contaminate. After placing the lens I found a piece of dust and a small piece of plastic shaving from the case roaming inside that are now sandwiched in there for eternity. It's mostly only noticeable in bright light, but it'll haunt me forever.
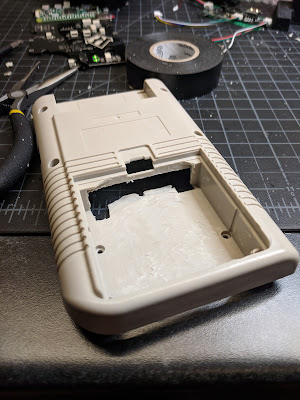
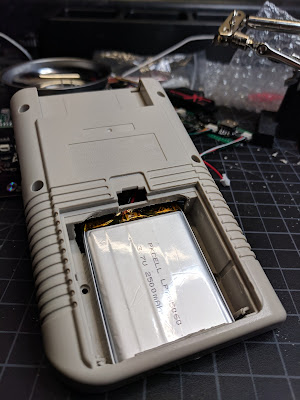
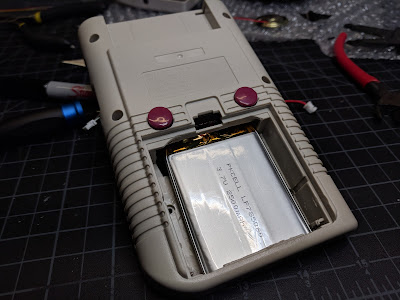
Clearing out the battery compartment to accommodate a rechargeable lithium-ion battery pack
The battery is held in place with a little hot glue
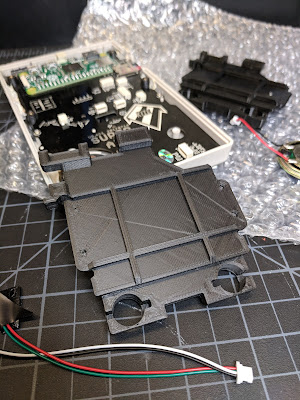
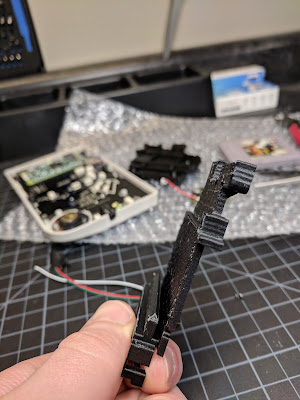
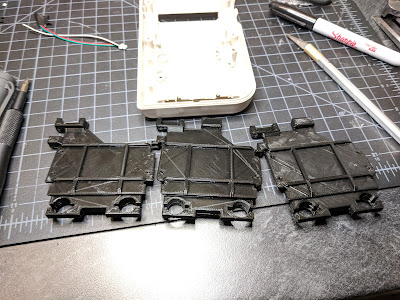
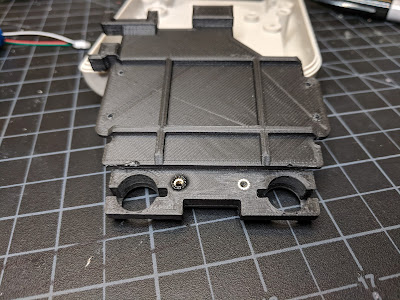
Perhaps the trickiest part of a Game Boy Zero build is figuring out how to mount the rear buttons. These buttons are necessary if you want to play a lot of SNES, Genesis, or Game Boy Advance games, just to name a few. Many other builds I've seen online use a lot of hot glue to hold small tactile button switches in place but I wanted to do something cleaner with the same squishy button feel of the face buttons. I decided to design a bracket that would not only hold the rear buttons in place but at the same time offer a structure for the power switch, mode button, and cartridge slot to mount on.
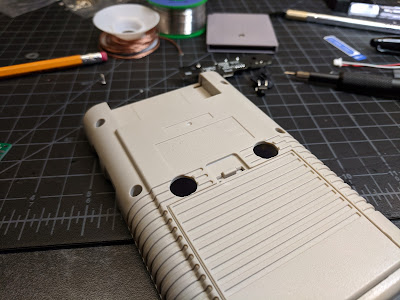
I started by drilling the holes for the buttons in a location that didn't interfere with anything else inside while still being ergonomic in use. I designed the bracket around those new holes and the existing structure of the case.
Failed parts
I cut down a piece of perfboard to mount the squishy type micro switches that will be actuated by the Game Boy buttons mounted inside the bracket.
To mount the PCB for the buttons I inserted more brass inserts into the bracket and sanded down the surface for a flush finish.
After soldering, the rear buttons are ready to go!
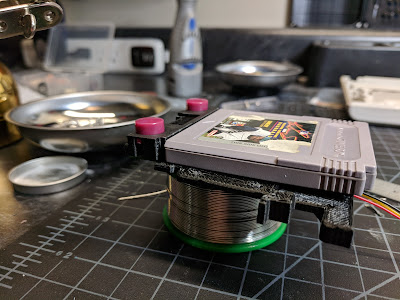
You can see here how the rear buttons will pop out the back of the case as well as how a standard Game Boy cartridge slots onto the tongue in the back of the bracket. Obviously the system can't actually read the cartridge, but I figured if I had the extra space I might as well allow the insertion of real cartridges for a more authentic look.
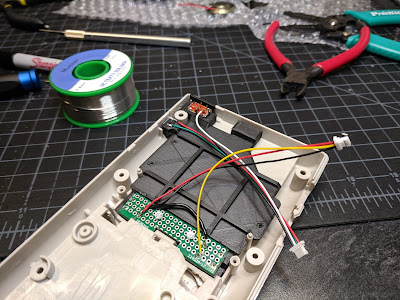
Here's the bracket inserted into the case with the mode and power switch inserted. They're held in place with just a little hot glue but the bracket itself offers the actual support so they won't go anywhere. It's all held in the case via the four screw holes on the face of the bracket that line up with four existing screw posts that were originally used for a bracket that held the cartridge in.
The rear buttons almost look original and they work great!
The speaker gets soldered and held in place with a little hot glue
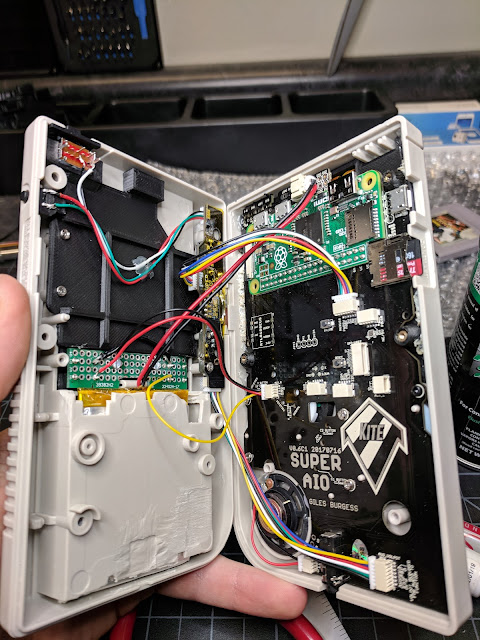
It's finally time to join both the front and back. Once everything is plugged in you can see that it's actually fairly tidy, thanks to Kite's Super AIO board. The whole thing is held together with six screws: four in the front display bracket via our brass inserts and two towards the bottom into existing posts that line up with holes in the battery bay.
The display appears washed out in the video above but in person it's actually quite nice!
This was a really fun project to undertake as someone who has very basic knowledge of electronics and only ametuer soldering skills. The best part is figuring out problems on your own, such as the rear bracket.
There are easier and cheaper ways to emulate and play these old consoles on the go. Any Android phone can do it with very little effort, but even if you use a proper controller with a smartphone you're still introducing a lot of lag and lose any semblance of that classic feel.
If you're interested in building one of your own, a really good resource is Sudomod.com. They have guides, a marketplace for sellers to offer their Game Boy Zero parts and components, and extensive forums. It's also where you can find Kite's Super AIO boards. Kite only produces these in limited batches so you'll have to wait until he puts pre-orders up if you want to get yourself one. His latest iteration uses the new Raspberry Pi Compute Module which, instead of all the soldering we had to do on our Raspberry Pi Zero model, is as simple as plugging in a stick of RAM.
John Abraham, BC Dungeon Master
John Abraham, BC Dungeon Master
